
How to Start Journaling with Notion: A Simple Setup to Get You Going
If you’re thinking about journaling in Notion but feel overwhelmed by all the templates and fancy setups out there, I get it. I’ve been there. The key is to start simple—really simple—so you can build a journaling habit that sticks without getting bogged down in complexity.
Here’s a straightforward way to set up your Notion journal, step-by-step, that keeps things easy and practical. From here, you can always add bells and whistles later once you’re comfortable. But first, let’s just get you writing.
Why Keep It Simple?
Lots of people share amazing Notion templates with automation, tagging, and all kinds of features. And that’s great if you want to dive deep or building on top of an existing journaling template that has been proven to you to be effective. But if you’re new or just want to get into the habit of journaling, don’t sweat the setup.
The real benefit comes from journaling consistently, not having the perfect database with emojis and filters. Form can help function, sure, but don’t let the look or complexity stop you from actually writing.
Start simple. Build a basic journal and grow it as you go. Trust me, that’s how you avoid spending hours on something you might never use.
Step 1: Create Your Journal Page
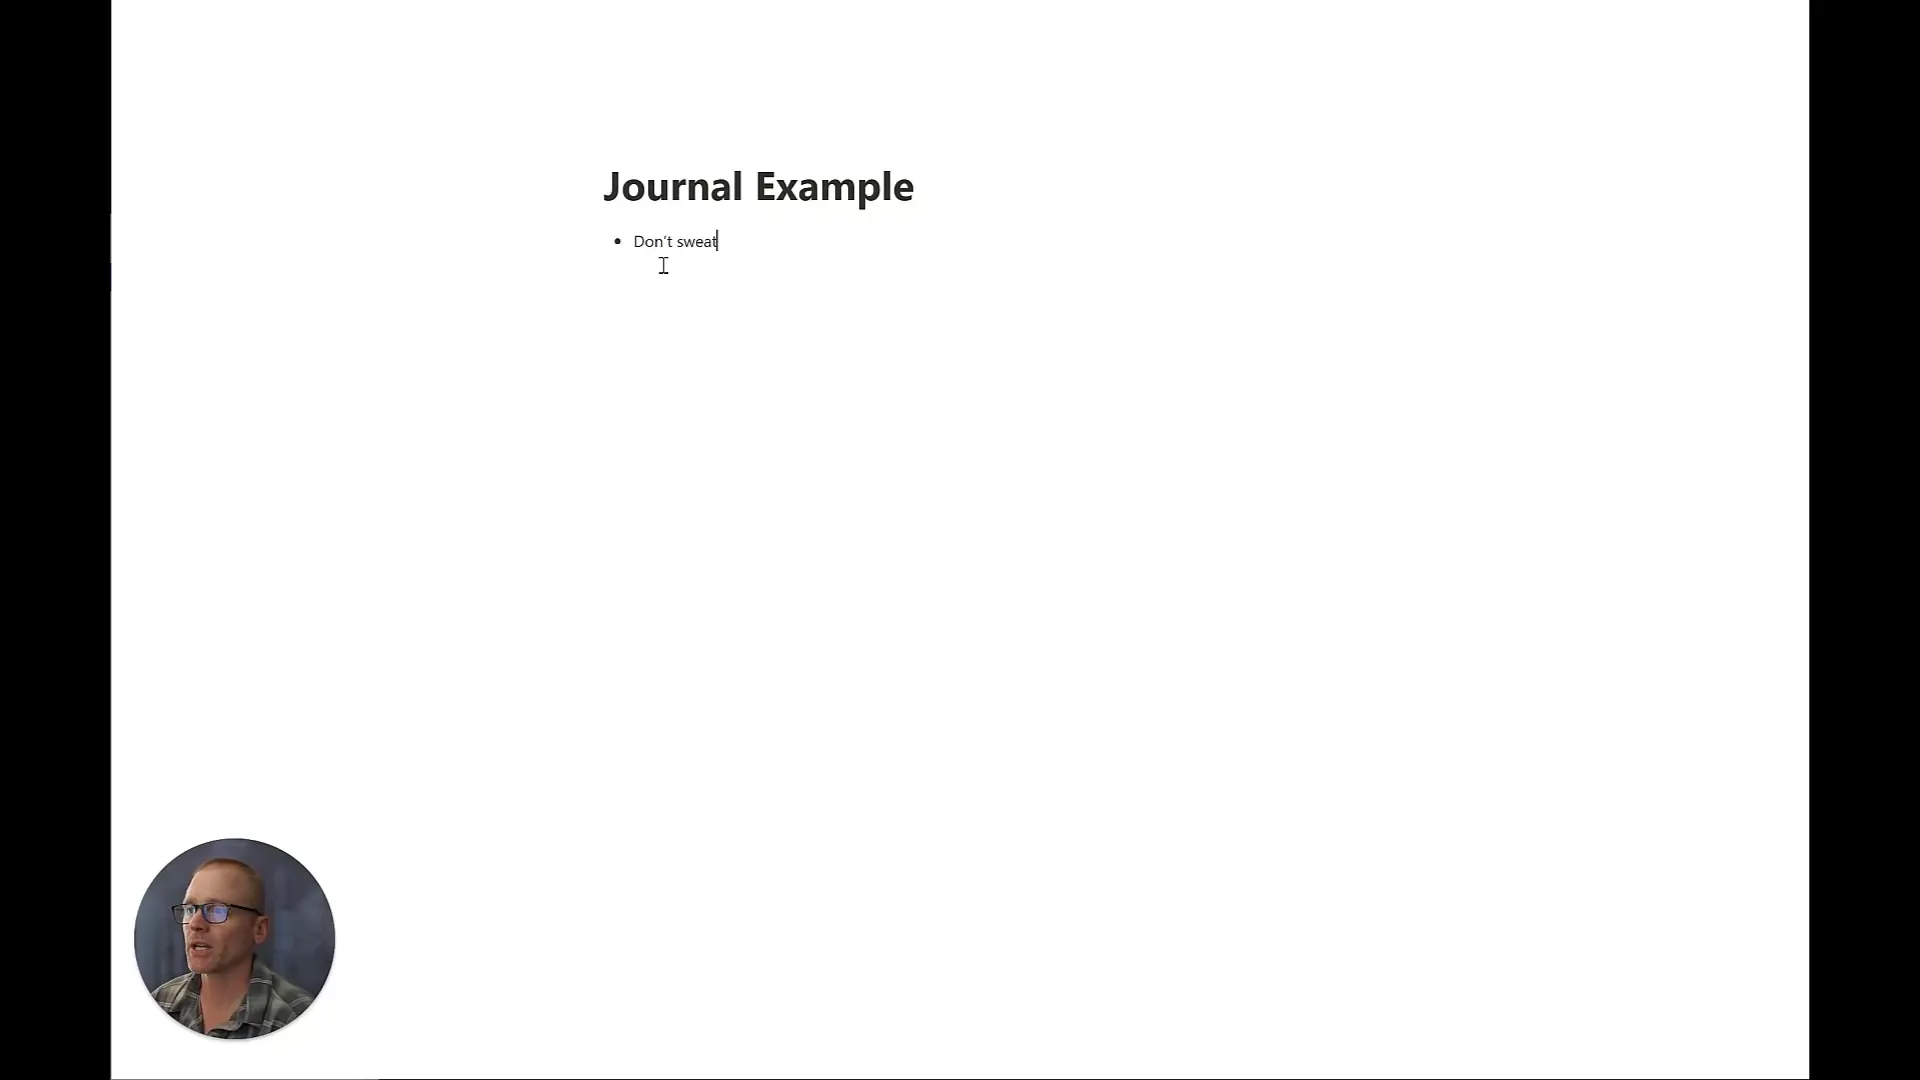
Open Notion and create a new page. Call it whatever feels right for you. If it were me, I might call it Adam’s Daily Journal—something simple that makes it easy to remember.
At the top of the page, I like to add a few bullet points. These might be helpful reminders or motivators, like:
- Don’t skip days, but don’t stress if you miss one.
- Just write what’s on your mind.
- Maybe a favorite quote or two to get you thinking.
These little nudges help me stay on track without feeling pressured.
Step 2: Set Up a Simple Database for Your Entries
Next, add a database to your page. When you type “/database,” you’ll see lots of options. I recommend starting with a table inline database so everything stays on the same page and is easy to access.
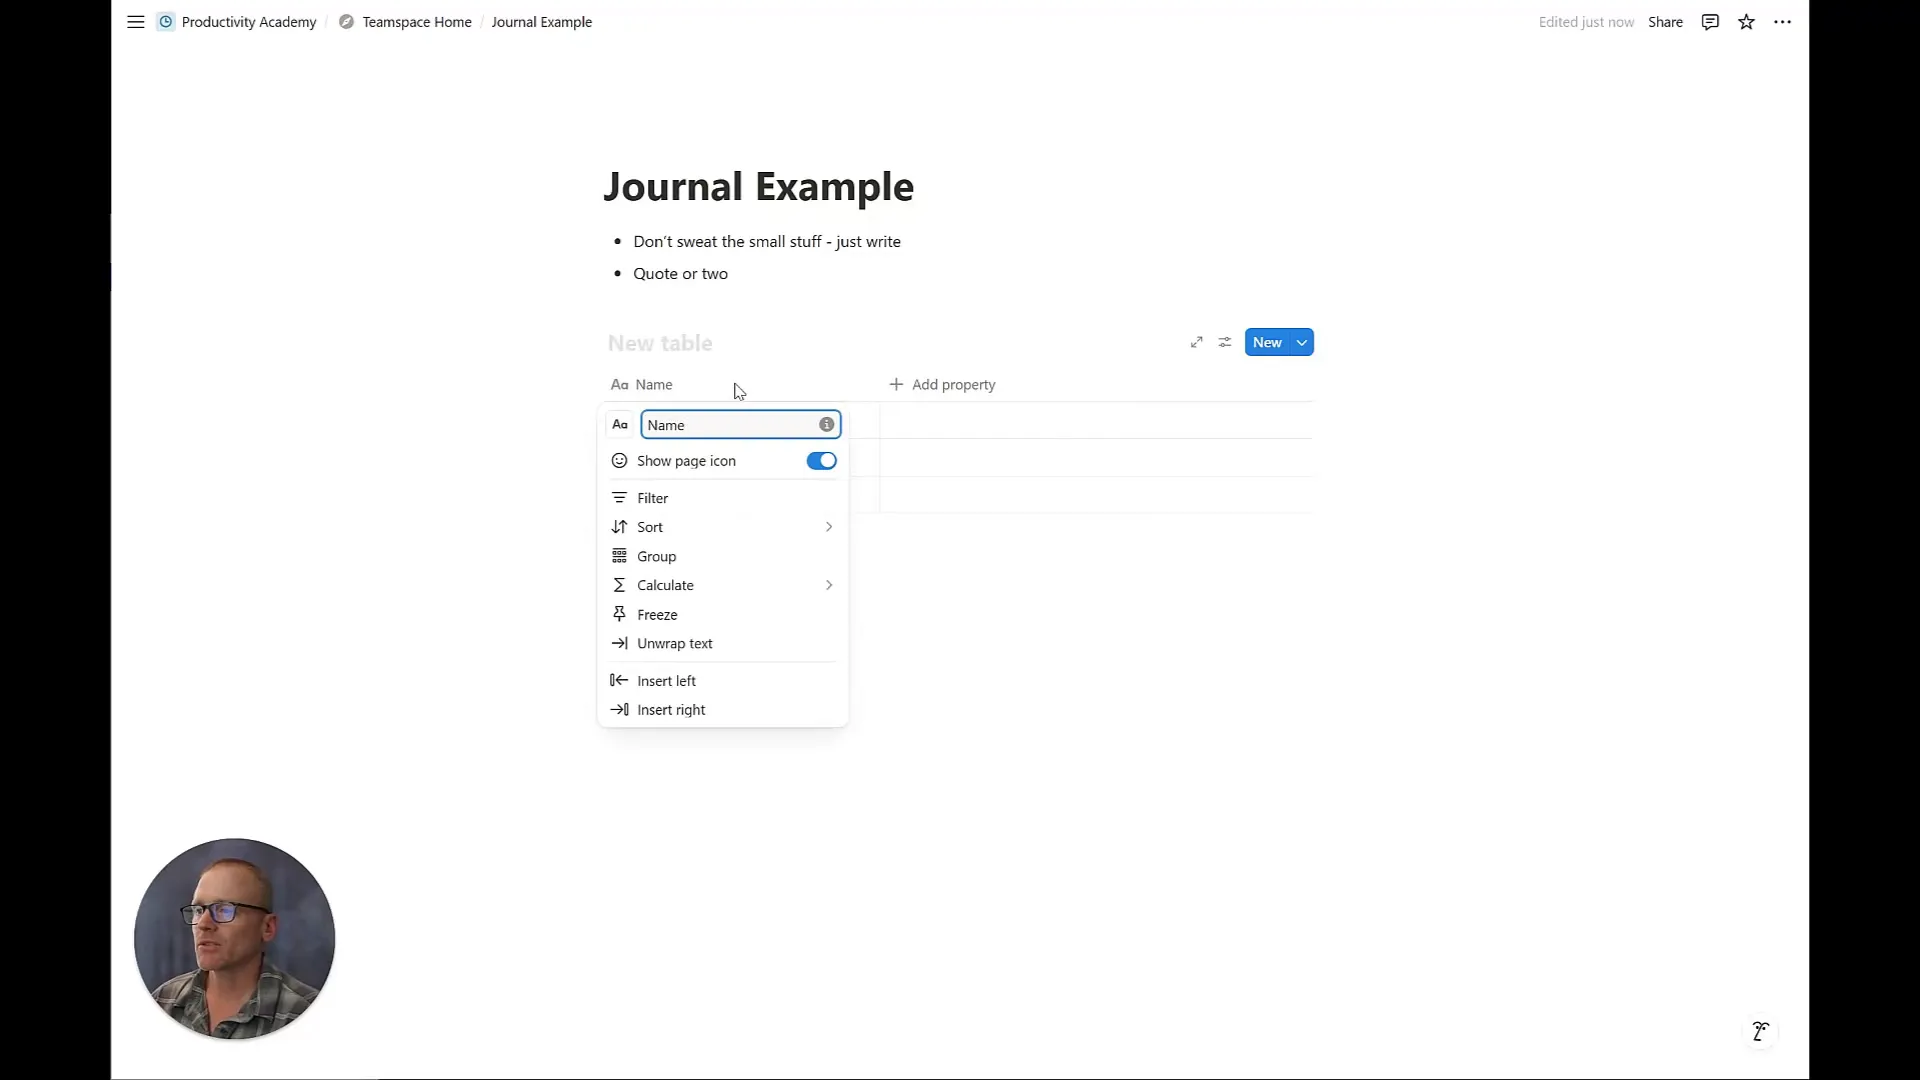
By default, the database will have a Name column. Think of this as an ID for each entry—it’s required but doesn’t have to be complicated.
Rename the database something like My Daily Journal Entries. Then, add a new property for the date:
- Click “+ Add a property”
- Choose “Date” as the property type
- Name it “Date” so you can easily sort and view entries by day
You can rearrange the columns by dragging them around to your preference.
Step 3: Explore Different Views — Table vs. Calendar
One of Notion’s strengths is letting you view your data in different ways. For journaling, two useful views are:
- Table view: Shows your entries in a list, letting you scan dates and titles quickly.
- Calendar view: Lets you see your entries chronologically on a calendar, which is great for spotting gaps or streaks.
To add a calendar view, click + Add a view in your database and select “Calendar.” You’ll see your entries plotted by their date.
In calendar view, you can click any day to add a new journal entry easily. It pre-fills the date, which saves time and keeps things organized.
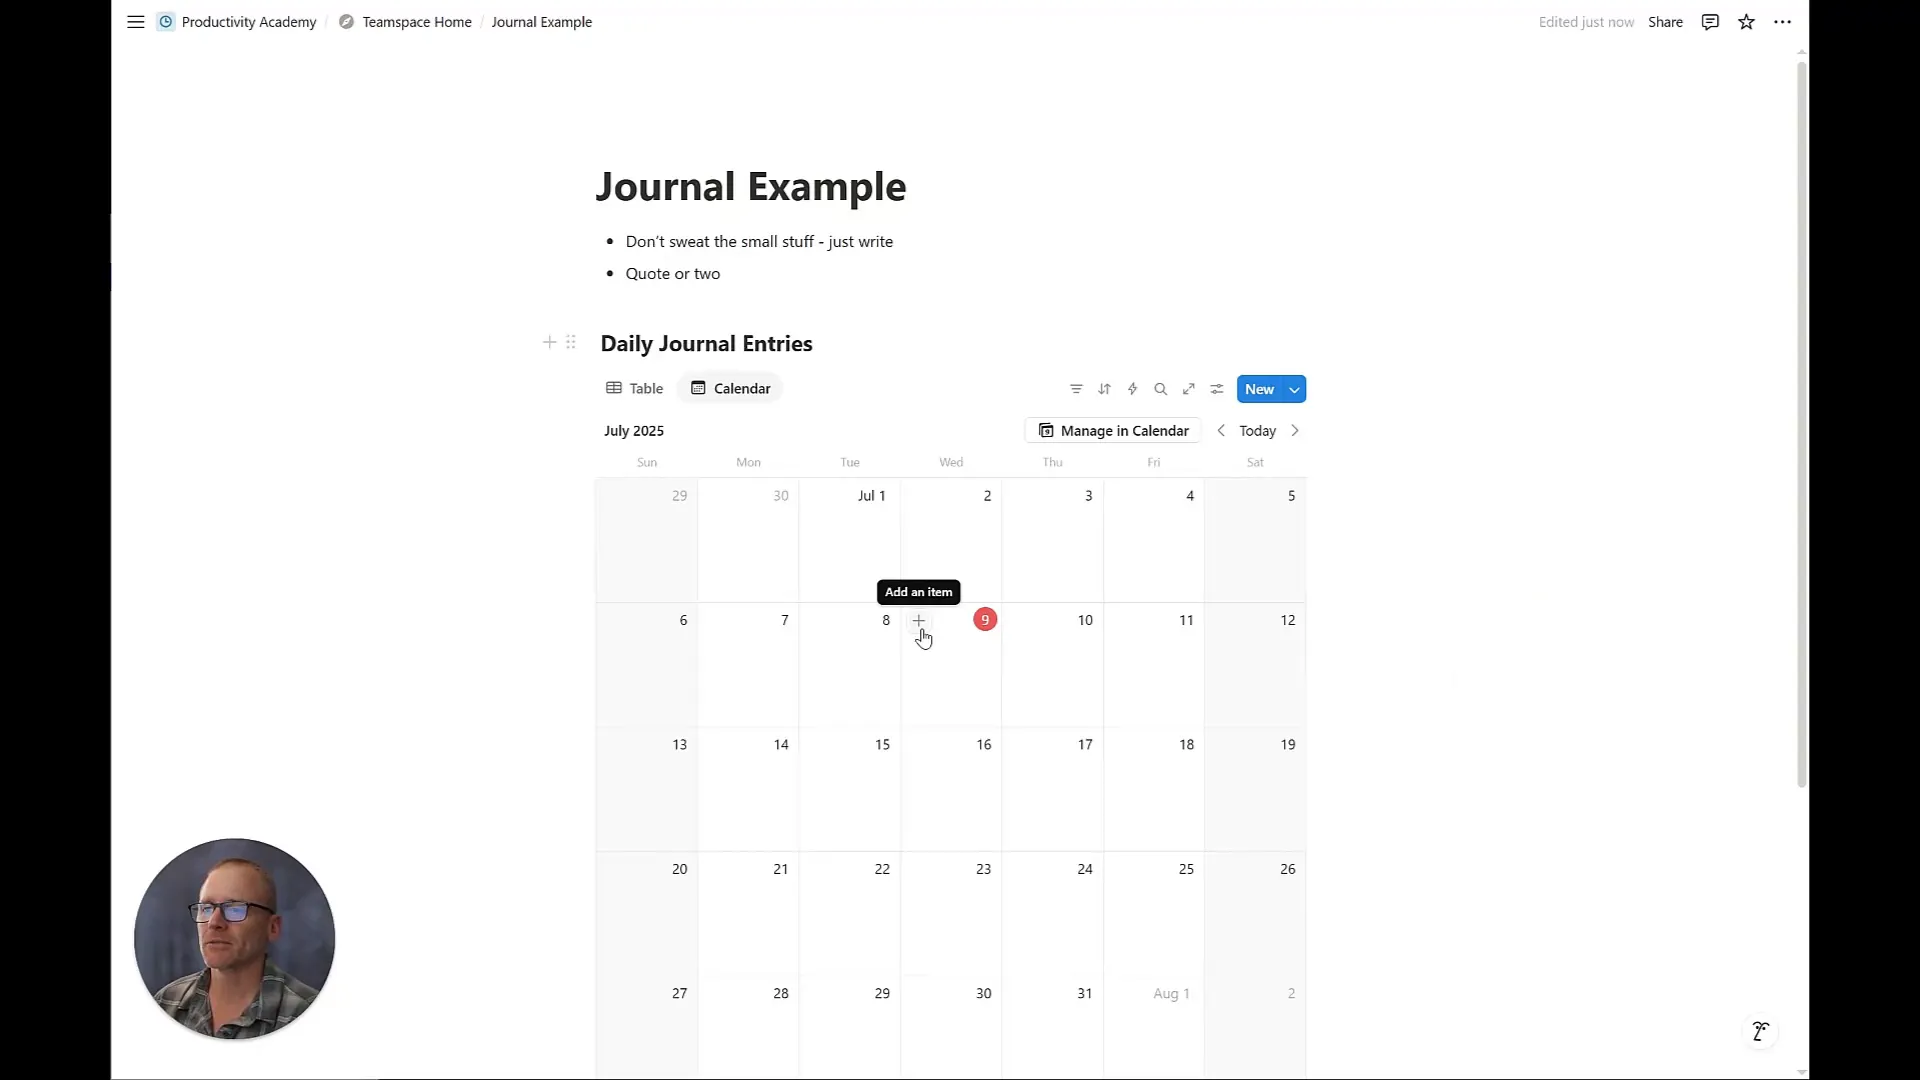
Calendar view looks nice and is helpful for visualizing your journaling habit. But if you want to review more text in one place, table view might be better.
Step 4: Use Templates to Make Journaling Easy
Journaling usually means answering some prompts or writing about certain topics. Notion lets you create templates inside your database to streamline this.
Here’s a simple daily journal template you can create:
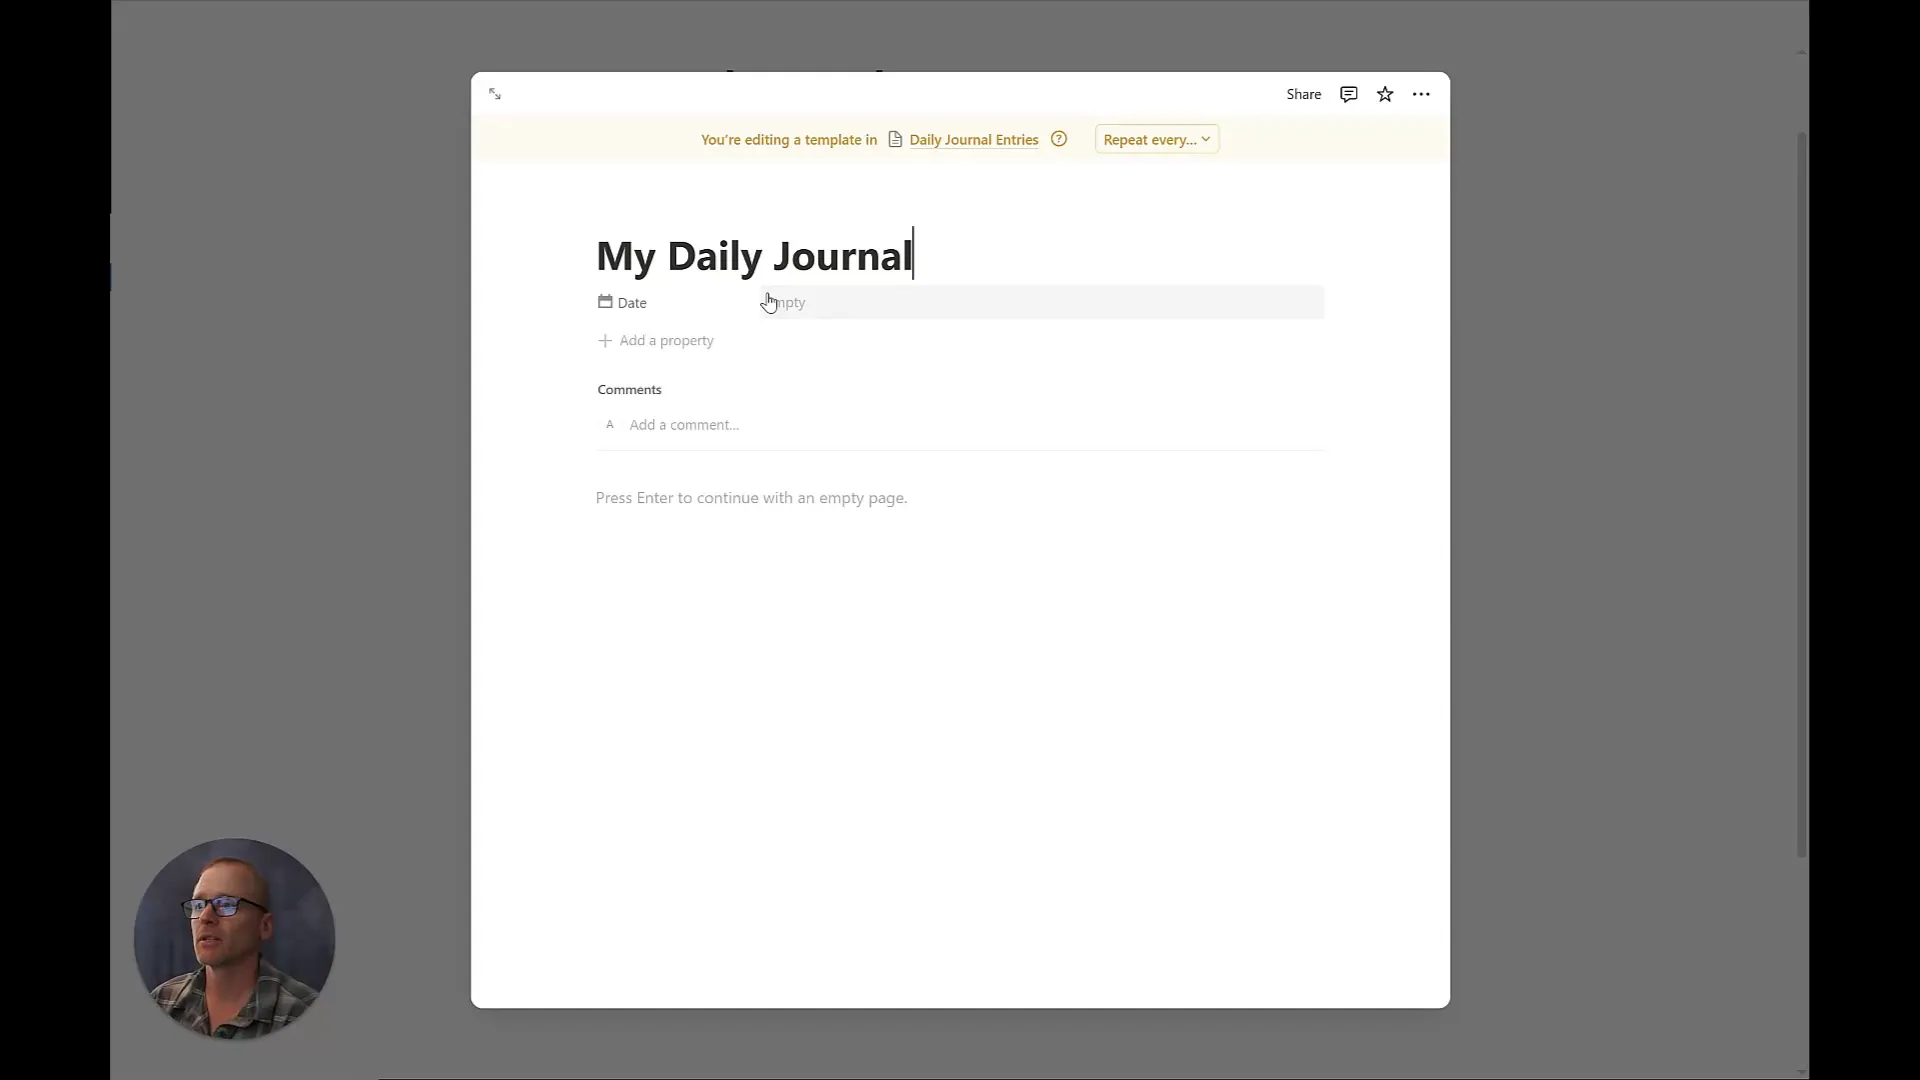
- Click New in your database, then + New template
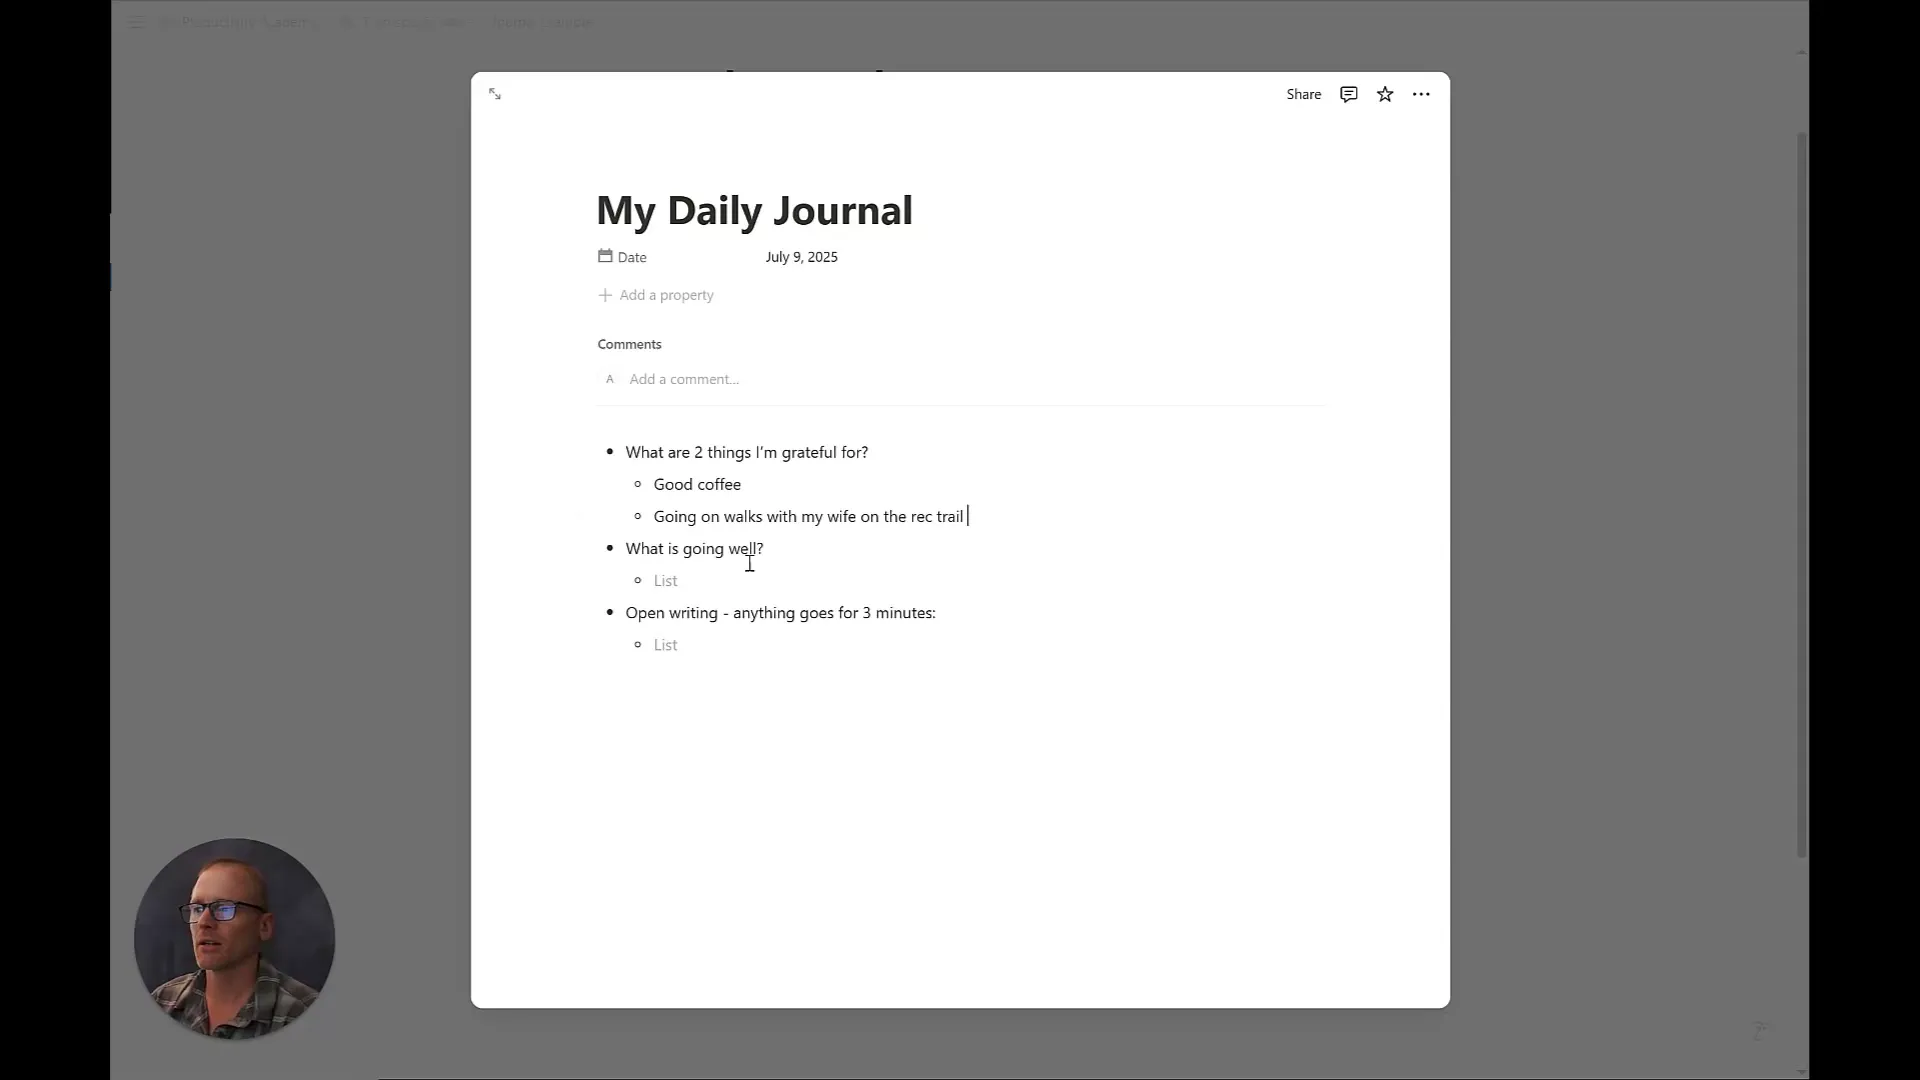
- Name it “My Daily Journal”
- Set the date property to Today (this auto-fills when you use the template)
- Add some prompts, like:
What are two things I’m grateful for?
What is going well?
Open writing: anything goes for 3 minutes.
Each time you create a new entry with this template, you get these prompts ready to go. No thinking required—just start writing.
Step 5: Fill Out Your Entries and Customize
Once your template is set up, click New and select your journal template. You’ll see the date is set, and the prompts are waiting.
Start writing your thoughts. For example:
Good coffee and going on walks with my wife on the rec trail.
What is going well? Feeling productive and focused.
This simple structure keeps journaling quick and approachable.
Step 6: Add a Text Property for Quick Glances (Optional)
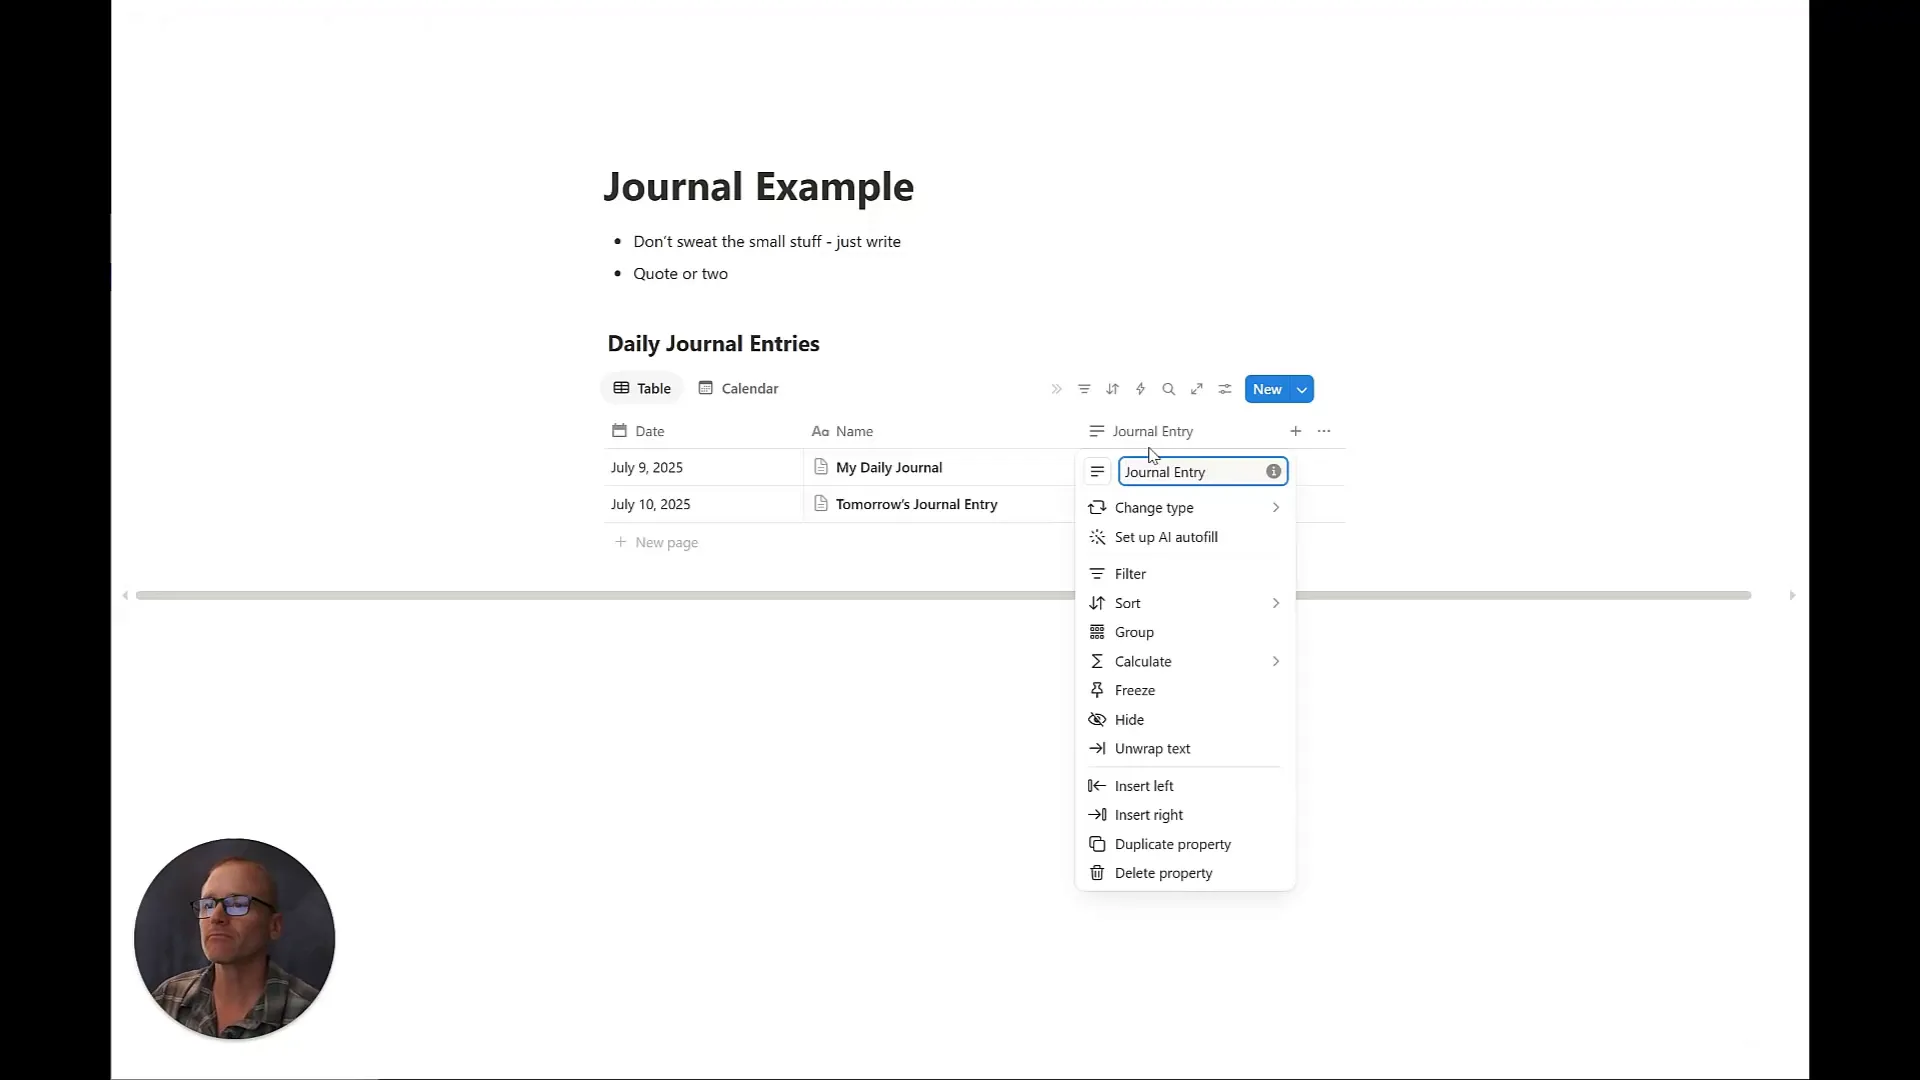
If you want to see parts of your journal entries directly in table view without opening each page, add a new property:
- Add a new property and select “Text”
- Name it “Journal Entry”
- Paste a brief summary or key points from your entry here
This works well for quick overviews or tracking moods with emojis or ratings (like a 1-10 scale). But keep in mind, this won’t support rich formatting or templates like full pages do.
Final Tips to Keep Journaling Consistent
Here’s what really helped me stick with journaling in Notion:
- Bookmark your journal page in your browser or pin it somewhere easy to reach.
- Set a daily reminder—maybe in your calendar or phone—to open the page and write.
- Make it one click to get to your journal so it feels effortless.
- Don’t worry about perfection. The goal is to write regularly, not to create a masterpiece.
Journaling is a practice, and Notion is a tool to support it. Keep your setup simple, start small, and tweak as you go.
If you want to dive deeper into automations, tagging, or more advanced setups, feel free to explore or ask around. For now, this basic system is a solid foundation to build your journaling habit.


